My daughter often didn’t do what other kids did… so at first, it was difficult to figure out new activities when I ran out of ideas. I’d ask my friends what they were doing with their kiddos at home, and sometimes those things were too advanced… but by watching my daughter’s therapist, I learned that I could modify activities sometimes, as well. I’ve learned a lot about giving my daughter space to let her try new things, and take “baby steps” towards new abilities. Without the developmental therapists we’ve worked with, I don’t know that I would have even thought to do that!
Are all toys created equal?
Probably not – there are benefits to all different kinds of toys, but as a mother of a toddler as well as a pediatric speech-language pathologist, I tend to veer towards toys and activities that can be used in many different ways. The simple reason behind this is that both I AND my child or client can be creative with the interactional experience.
Don't Miss our Corresponding Podcast Episode!

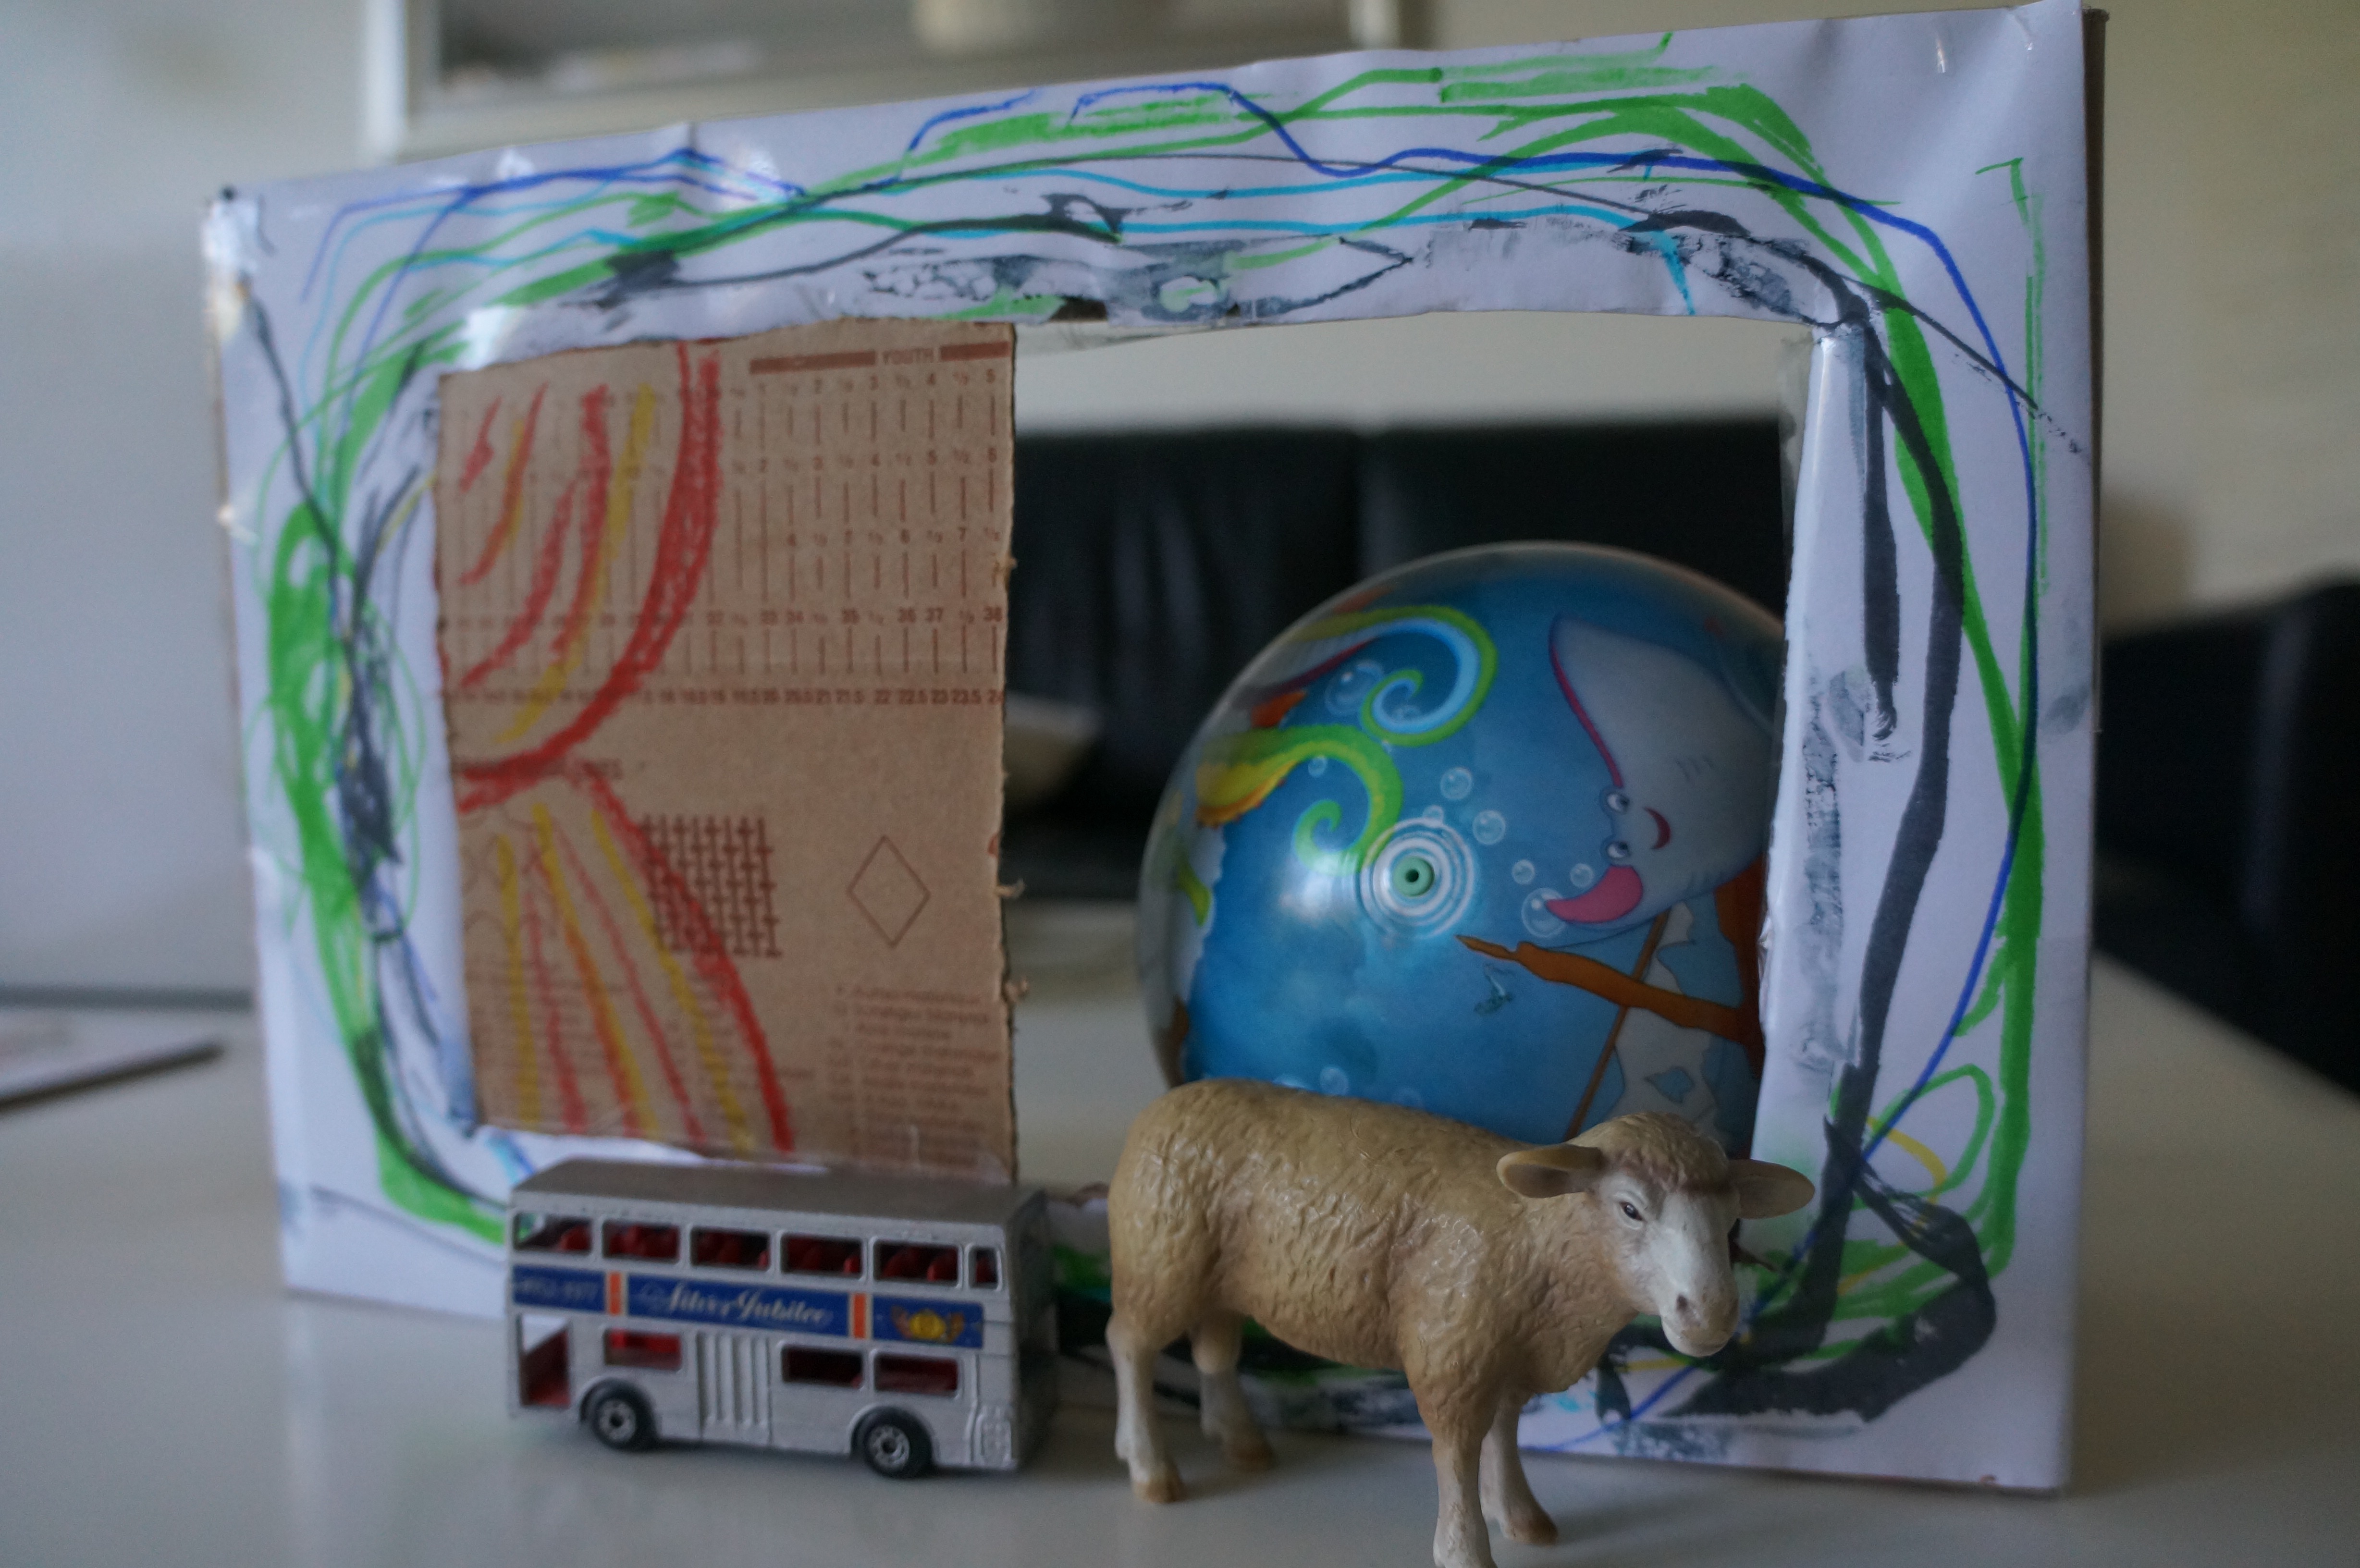
Materials to create your DIY puppet theater:
- 1 empty shoe box, or similar sized box – I find that the bottom works better because it is more stable when standing, and there is space for the “performers” to stand
- Knife or edge of scissors
- Several “characters” of your choosing, depending on how you’d like to structure the activity (more on this below!)
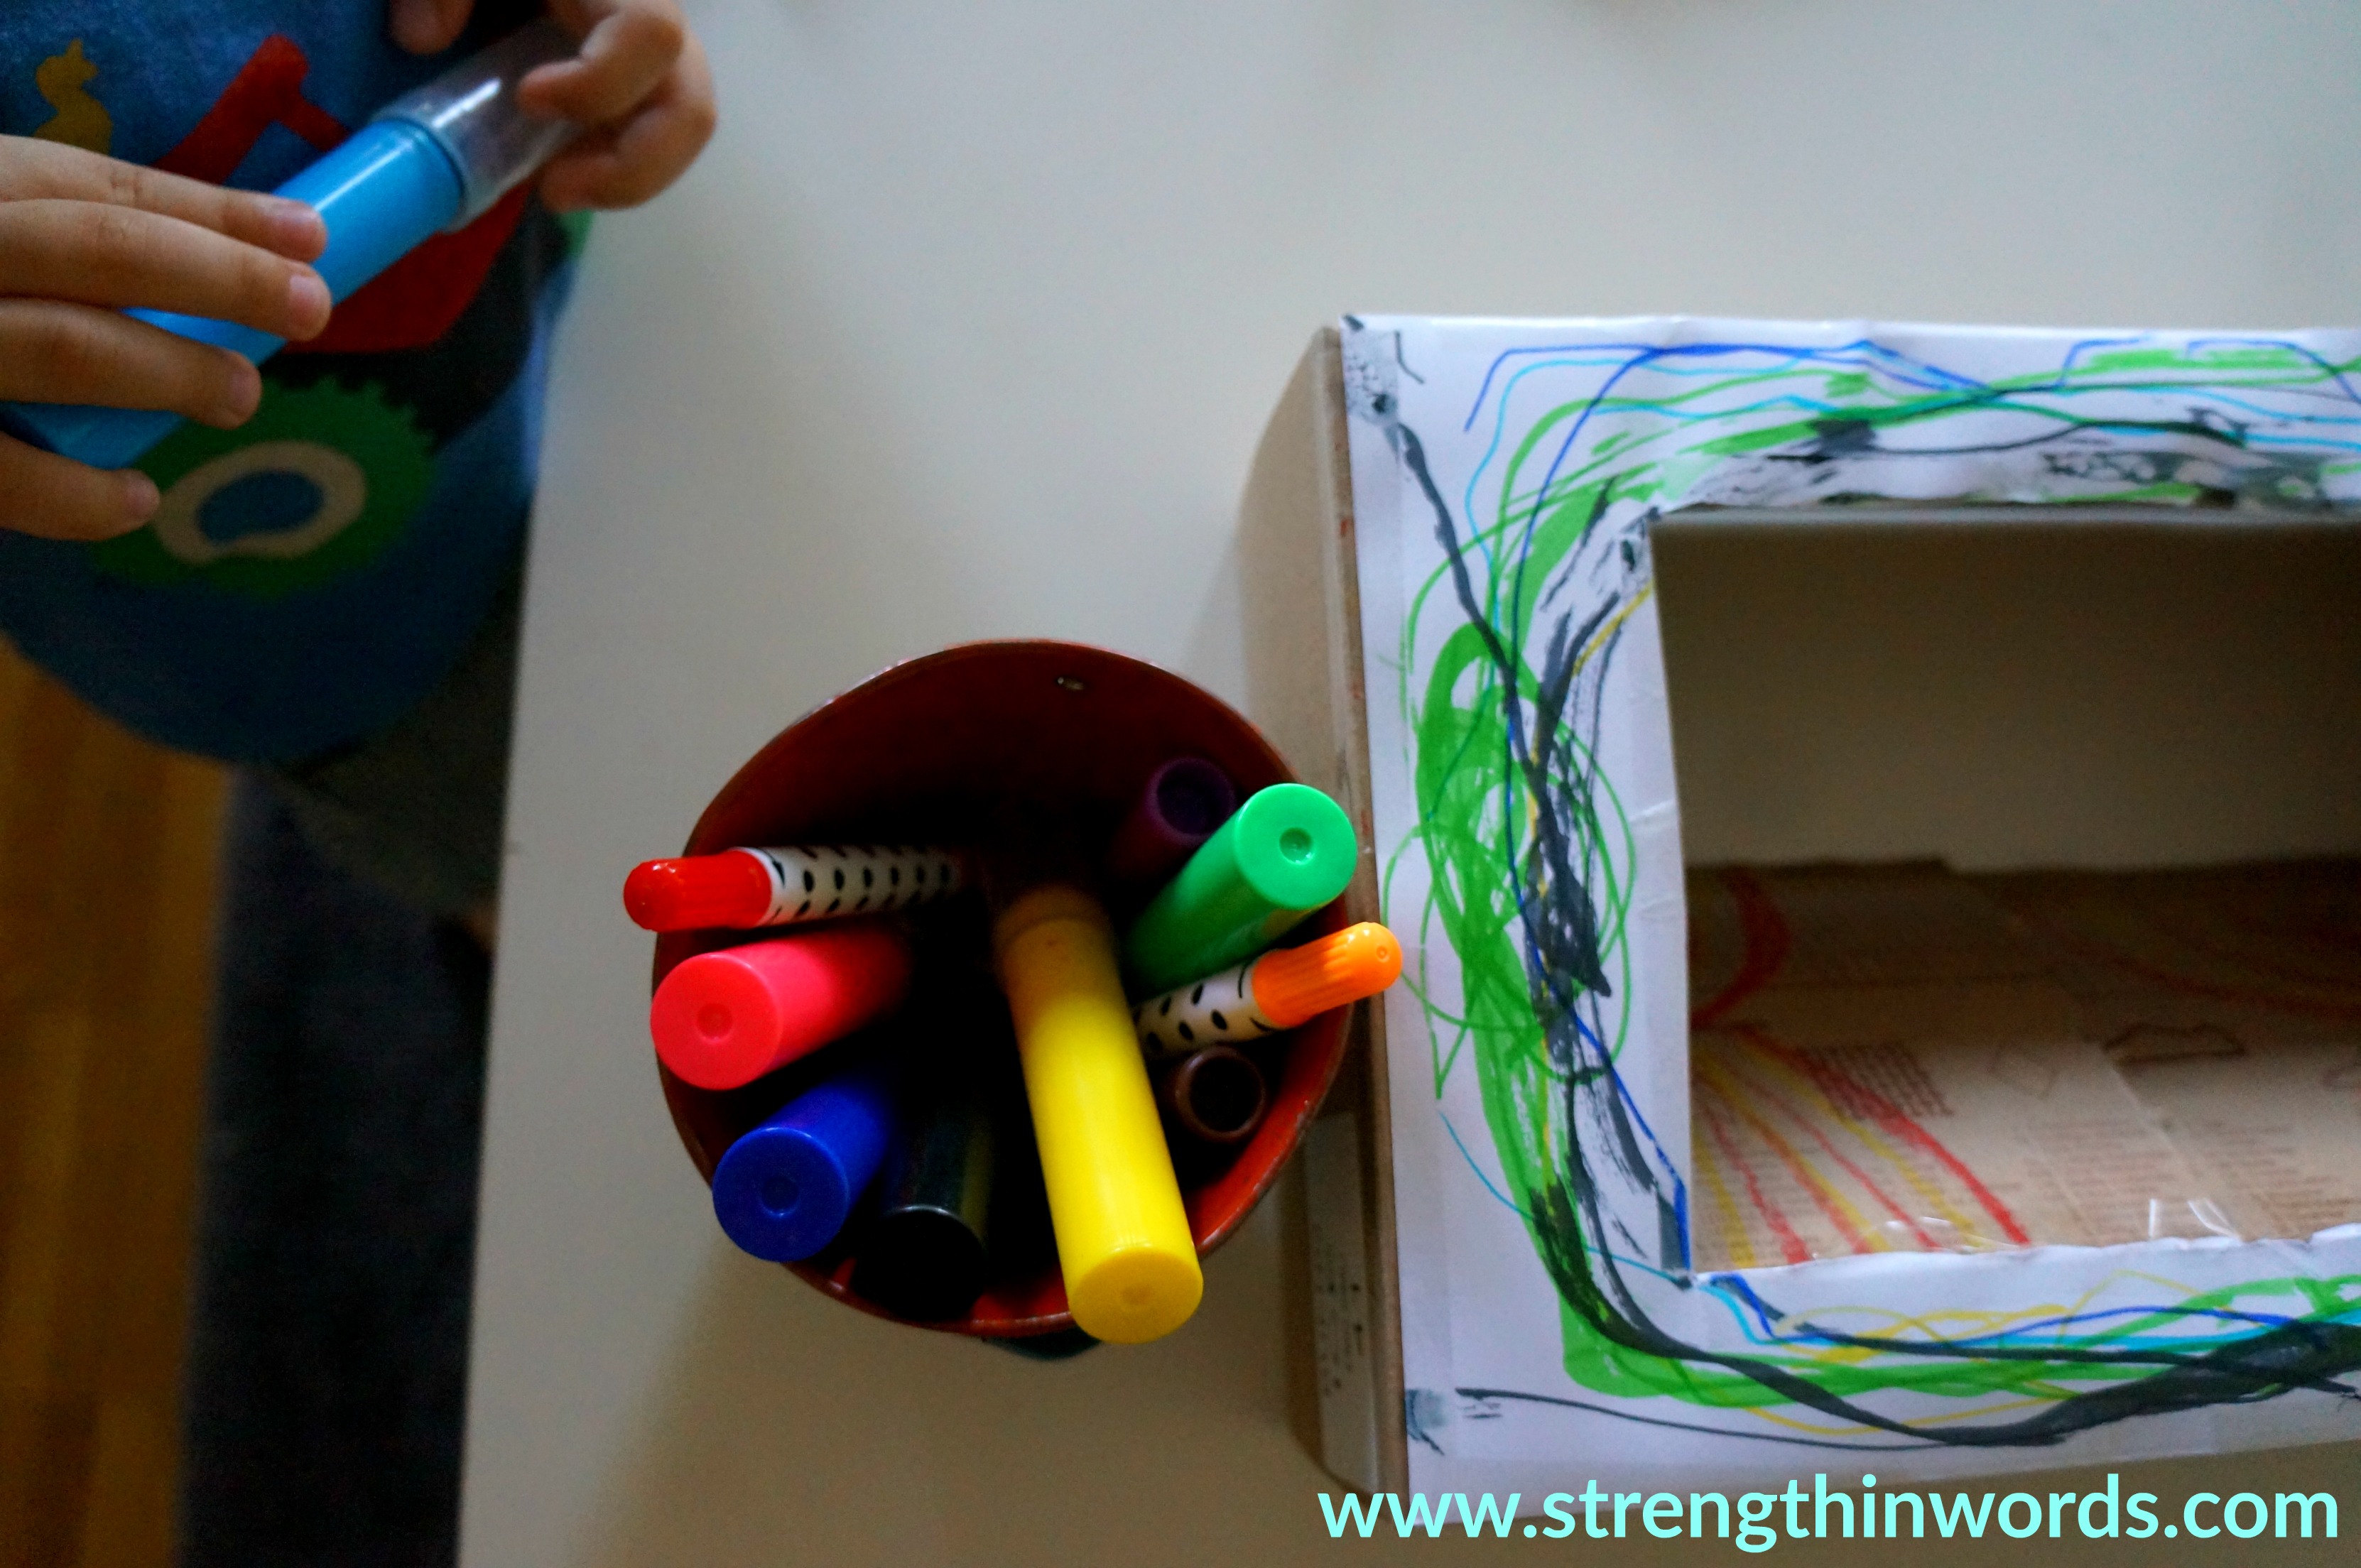
- Optional: decorating and drawing materials to add a crafting element / art activity to the creation of the theater (pens, colored pencils, stickers, washi tape, etc.)
Instructions to create your DIY puppet theater:
- Cut a large hole out of the middle of the bottom of the box. You might create doors or cardboard “curtains” for your characters to engage with
- Select puppets, figurines, or other manipulatives your baby might enjoy watching, listening to, or touching (or, for the older set, acting out themselves)
- A simple collection of puppets or characters from a familiar story for a dramatic “story re-tell” activity
- Items from one particular category (i.e., wild animals, toy furniture, items that begin with the letter “b,” red things, circular things, soft things…) – if you select items from one category, you might choose one that “does not belong” to serve as a foil for your child!
- Preferred items that play peek-a-boo
- Animals that appear, making their animal noises
- Let the show begin!
- Add to the fun by letting each character sing a song, or become part of a musical activity, as illustrated in this week’s podcast!
Ages
- Infants and toddlers can all enjoy activities created with a “puppet theater” if the caregiver sets up the environment or activity in a developmentally appropriate manner! This is the whole point – your theater is simply the tool you’re using to engage with your child.
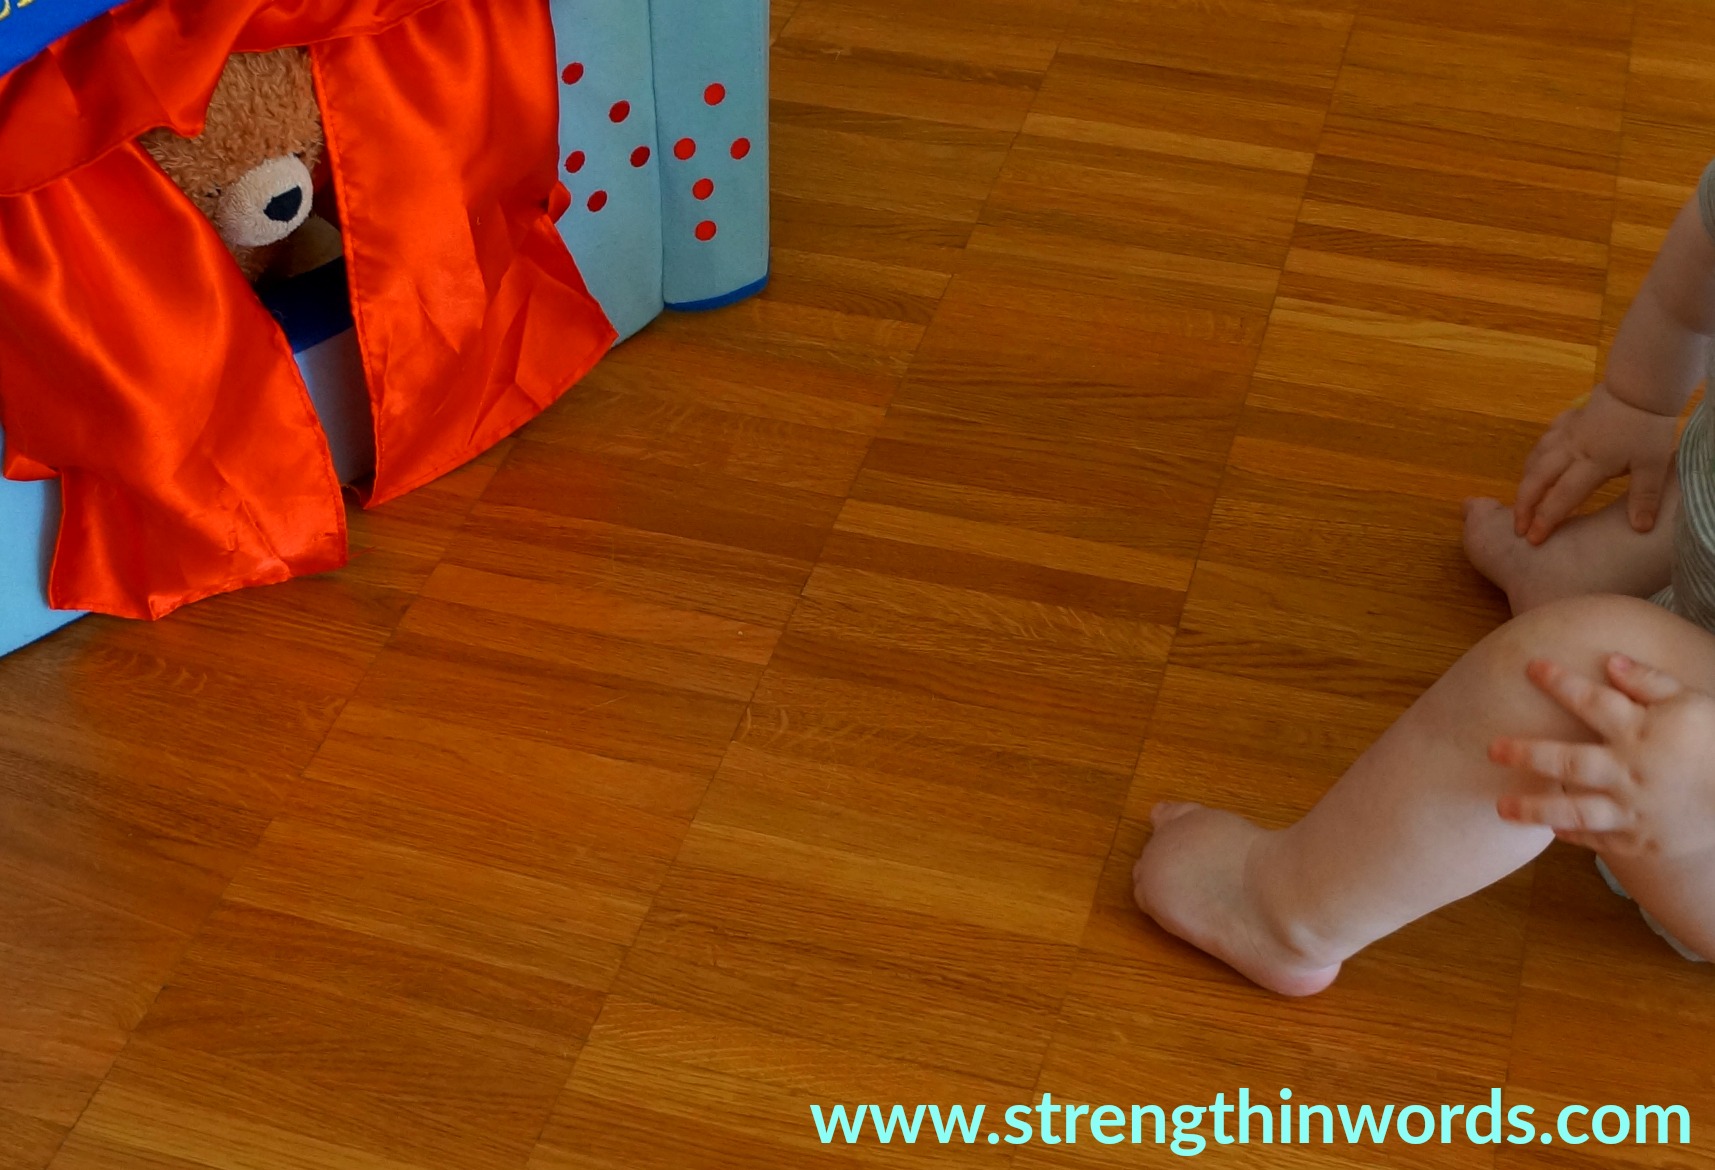
- A younger infant might simply enjoy watching your face appear, disappear, and reappear through the hole in the box.
- An older toddler might want to help narrate a story for a younger sibling or with a caregiver (there’s no need for a real audience!)
- Pause at opportune times to give your little one the opportunity to communicate and become part of the performance, and give opportunities for your child to make choices!
This post contains affiliate links. All activities described by Learn With Less assume close and continuous supervision of the child by an adult.

A lovely idea for imaginative play, creativity and language. #ToddlerApprovedTuesday
Thanks for reading, Fiona!